

After the foundation, floor, walls, roof, siding, doors, windows and roofing are complete, your shed is finally starting to look like a finished building.
The last stage is about protecting the work you've already done.
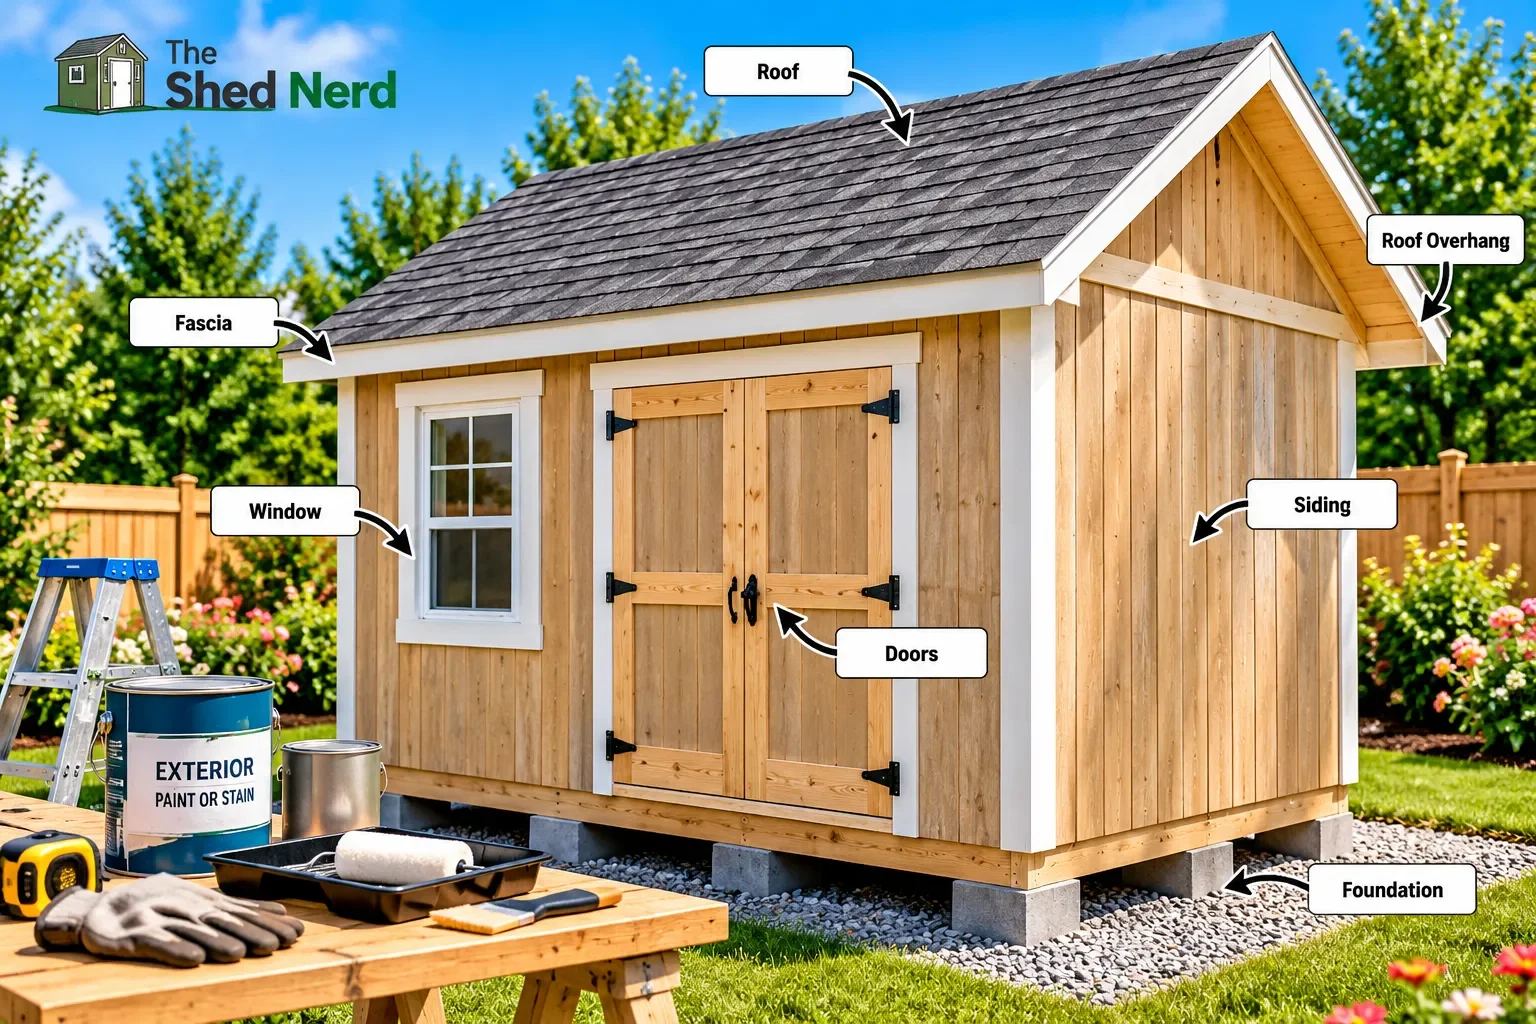
Finishing a shed can include sealing exposed wood, painting or staining the exterior, checking trim and joints, protecting vulnerable areas and establishing a simple maintenance routine. A good exterior finish can help protect the shed from moisture and weather while regular inspections can help catch small problems before they become larger repairs.
1. Inspect the Shed Before Finishing
Before opening a tin of paint or stain, walk around the entire shed and inspect the exterior.
Look closely at the siding, trim, doors, windows, corners and roof edges.
Check for:
Exposed or unfinished wood
Gaps around trim
Damaged siding
Protruding fasteners
Unsealed cut ends
Cracks or splits
Areas where water could collect
Damage around doors and windows
It's much easier to correct these details before applying the final finish.
If you've followed the previous stages of this guide, you've already installed the main exterior components. If you need to review the roof construction before finishing the building, our guide to
how to build a shed roof covers the roof framing, sheathing and other structural details.
2. Protect Exposed Wood
Any exposed wood should receive the appropriate protection for the material and finish you've selected.
Pay particular attention to cut ends and edges because these areas can be more vulnerable to moisture.
If you've cut siding, trim or other exterior boards during construction, check the exposed ends before finishing.
The appropriate primer, stain or sealer will depend on the type of wood and the finish you plan to use.
Exterior stains can help protect wood from moisture and sunlight while allowing some of the natural appearance of the material to remain visible.
3. Check and Finish the Shed Trim
Trim gives the shed a finished appearance, but it also helps protect the edges around doors, windows and corners.
Check that the trim is securely fastened and that the joints are neat.
Pay particular attention to:
Door trim
Window trim
Corner trim
Fascia
Gable trim
Siding-to-trim joints
Small gaps around exterior trim can allow water to enter behind the finished surface.
Where appropriate, use a quality paintable exterior caulk designed for the materials and conditions of the project.
Our guide to how to install shed siding covers siding, corner trim, gable ends and the exterior details that should already be in place before you apply the final finish.
Don't seal openings that are intentionally designed to drain or ventilate.
4. Seal the Joints and Openings
Before painting or staining, inspect the places where different materials meet.
Typical areas include the joints around windows and doors, corners, trim and other exterior penetrations.
Apply exterior-grade sealant where required by the construction and finishing system.
The goal isn't to cover every joint with caulk. The goal is to prevent unwanted water entry while allowing the building and its components to perform as designed.
This is especially important around horizontal trim and areas exposed directly to rain.
5. Prepare the Exterior Surface
A good finish starts with good preparation.
The siding should be clean, dry and free from dirt, dust and loose material before applying paint or stain.
For a new shed, preparation may be relatively simple if the siding is clean and in good condition.
For an existing shed being refinished, remove loose or peeling coatings and prepare the surface according to the coating manufacturer's instructions.
If repairs have been made, allow the repaired areas to dry completely before applying primer or finish.
Proper preparation helps the coating adhere correctly and can improve the finished appearance.
6. Choose Paint or Stain
The right finish depends on the siding material and the appearance you want.
Exterior Paint
Paint provides an opaque finish and gives you a wide range of colour choices.
For wood siding, use a quality exterior coating designed for the specific material. If primer is required, apply an appropriate exterior primer before the finish coats.
Exterior Stain
Stain is another option, particularly if you want to retain some of the natural appearance and texture of the wood.
Exterior stains are available in different levels of opacity, from relatively transparent products to more heavily pigmented finishes.
Choose a product specifically intended for exterior wood and follow its application instructions.
7. Apply the Primer if Required
If your chosen paint system requires primer, don't skip it.
Primer can provide a consistent surface for the finish coat and improve adhesion, particularly over bare or repaired wood.
Apply primer to the areas specified by the product manufacturer and allow it to dry completely before applying the finish coat.
Pay particular attention to exposed wood and repaired areas.
8. Apply the Exterior Finish
Once the surface is prepared and primed where necessary, apply your chosen exterior paint or stain.
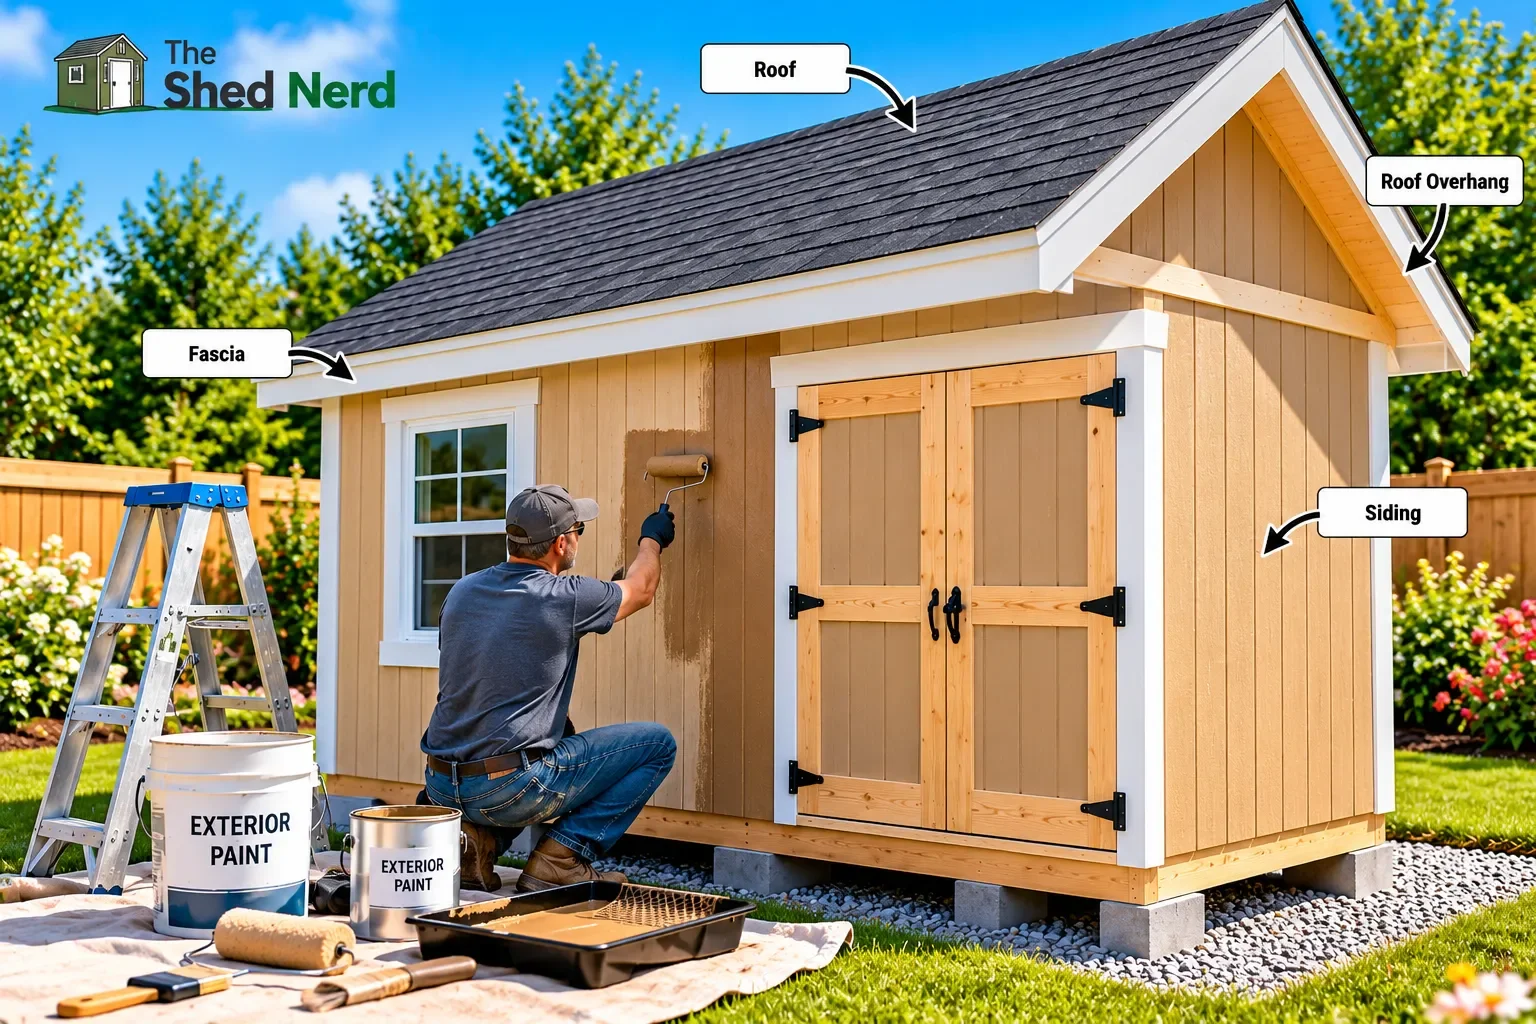
Work methodically around the shed rather than trying to cover everything at once.
For paint, two thinner coats may provide a better result than attempting to achieve complete coverage with one heavy coat. Always follow the product label for coverage, drying time and recoating requirements.
Pay attention to:
Siding
Trim
Door surfaces
Window trim
Gable ends
Fascia
Exposed wood edges
Avoid painting in unsuitable weather. Temperature, humidity, direct sunlight and rain can all affect how an exterior coating dries and performs.
9. Finish the Shed Door and Windows
The doors and windows deserve a final inspection before the project is considered complete.
Check that the shed doors open and close correctly and that the hardware is secure.
Look around the door trim for gaps or areas that need additional sealing.
For windows, check the exterior trim and make sure the installation remains weather-resistant.
Our guides to how to build a shed door and
how to install shed windows cover those installations in more detail.
Don't paint or seal over drainage paths, weep openings or other components that are designed to allow water to escape.
10. Check the Shed Roof and Water Runoff
The roof is your shed's primary defence against rain, so take a final look at it once the rest of the building is finished.
Check the shingles, ridge cap, drip edge and roof edges for obvious damage or loose materials.
If you need to review the roofing installation, our guide to
how to install shed roofing covers the roof sheathing, underlayment, drip edge, shingles and ridge cap.
Also check where water leaves the roof.
The ground around the shed should not encourage water to collect against the building. Keeping vegetation and debris away from the walls also helps maintain airflow and reduces moisture around the exterior.
If your shed has gutters or another drainage system, make sure they discharge water away from the foundation.
11. Give the Shed Some Breathing Room
Good ventilation can help reduce moisture buildup inside the shed.
If your shed design includes vents, make sure they remain unobstructed.
Don't block designed ventilation openings with paint, insulation, stored materials or other finishes.
The exact ventilation requirements will depend on the shed design, climate and local requirements.
12. Protect the Area Around the Shed
The area immediately around the shed can affect how well the building ages.
Keep grass, shrubs and other vegetation from staying against the siding.
Remove leaves and debris that collect around the base and check that water can drain away from the shed.
Keeping the area around the building clear also makes it easier to inspect the siding, foundation and lower edges of the shed.
If you're still reviewing the foundation or site preparation, our guide to
How to build a shed foundation explains several foundation options and important considerations for preparing the base of a shed.
13. Inspect the Shed Regularly
Finishing the shed doesn't mean the maintenance is finished.
Make a habit of inspecting the building periodically.
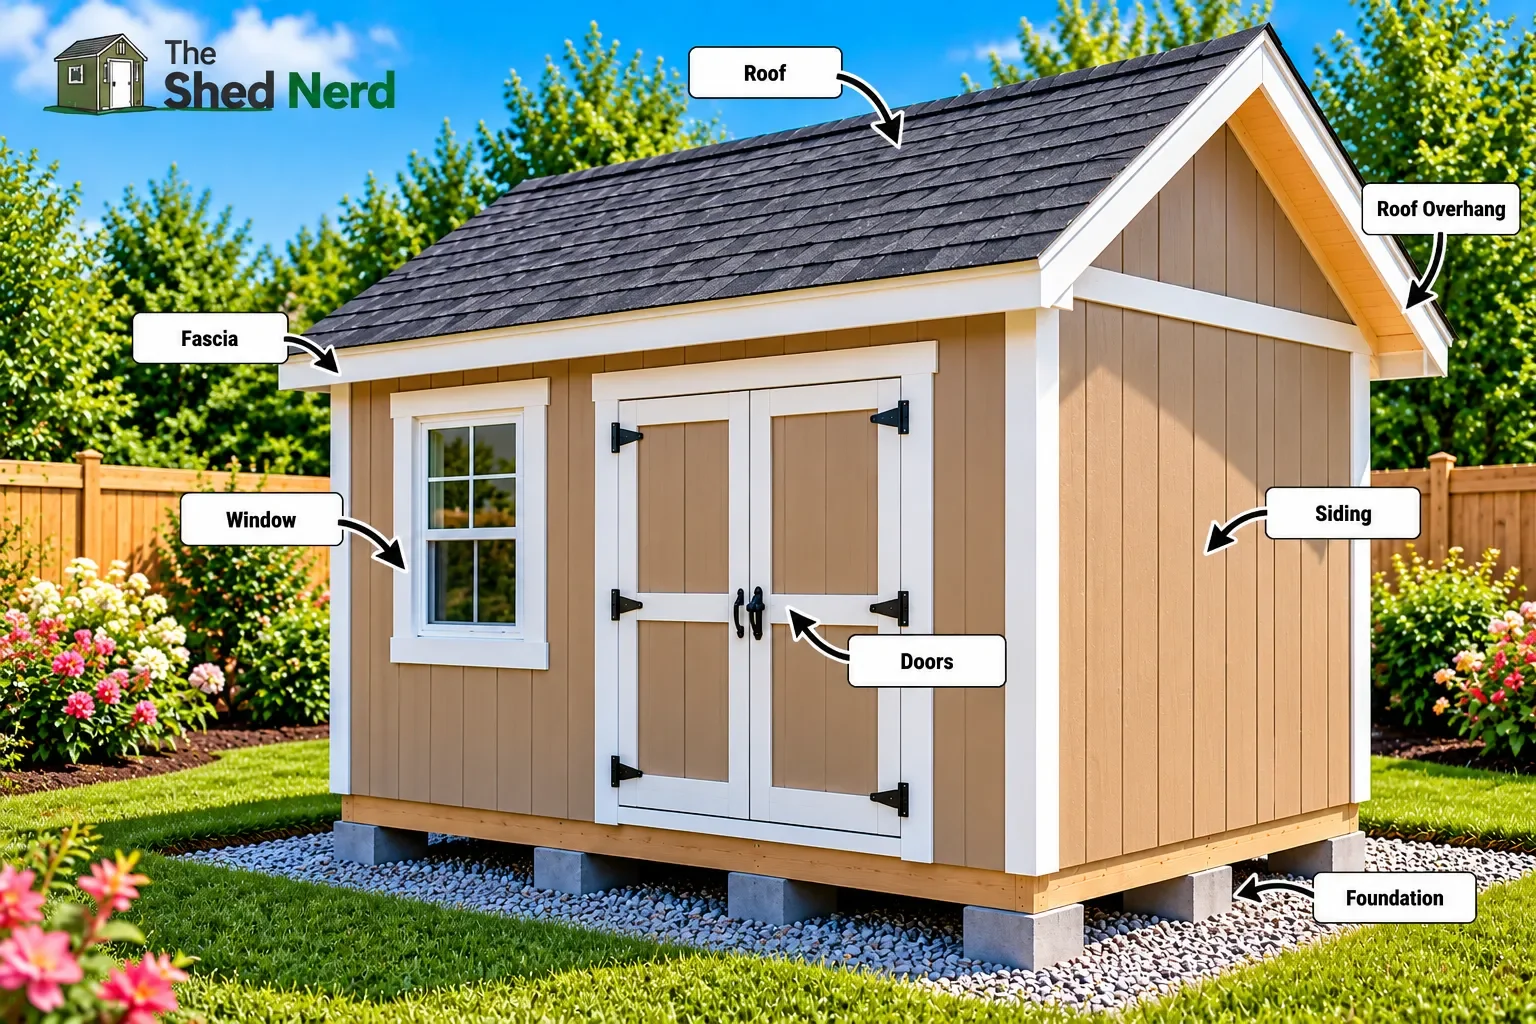
Look for:
Peeling or cracked paint
Faded or weathered stain
Damaged siding
Soft or rotting wood
Loose trim
Failed caulking
Roof damage
Water stains
Damaged door or window hardware
Pest activity
A regular inspection can help you find small problems while they're still relatively easy to repair.
Common Shed Finishing Mistakes to Avoid
Painting dirty or damp wood
The surface needs to be clean and appropriately dry before applying a coating.
Skipping surface preparation
Loose paint, dirt and damaged wood can cause problems with the new finish.
Sealing everything with caulk
Some openings are designed for drainage or ventilation and should remain open.
Ignoring exposed cut ends
Pay particular attention to exposed wood edges and end grain.
Painting in unsuitable weather
Temperature, moisture, wind and direct sunlight can affect the final result.
Forgetting the roof and drainage
A finished exterior won't compensate for water collecting around the building.
Waiting until damage becomes obvious
Regular inspections make it easier to deal with small maintenance issues before they become major repairs.
How Often Should You Maintain a Shed?
There isn't one maintenance schedule that works for every shed.
The interval depends on the siding material, coating, climate, sun exposure and how well the shed is protected from moisture.
Instead of relying solely on a fixed timetable, inspect the shed regularly and look for signs that the finish needs attention.
Paint may eventually begin to fade, crack or peel, while stain can weather and lose some of its protective properties. Recoating should follow the product manufacturer's recommendations and the actual condition of the shed.
If you're planning another shed project, the Shed Material Estimator Calculator can also help you estimate common framing, sheathing, roofing and foundation materials before you start purchasing supplies.
What's Next?
You've reached the end of the Shed Building Guide.
The journey has taken you from preparing the foundation through to protecting the finished building:
Foundation → Floor Frame → Wall Framing → Roof Framing → Siding → Door → Windows → Roofing → Finish
At this point, your shed should have its major structural components, exterior covering, openings, roofing and protective finish in place.
The next step is simply putting the building to work and keeping an eye on it over the years.
If you're still planning your project, a detailed shed plan can help you organise the dimensions, materials and construction sequence before you start.
Final Thoughts
Learning how to finish and protect your shed is the final step in turning a collection of building materials into a finished structure.
Take the time to prepare the exterior properly, protect exposed wood, finish the siding and trim, check the roof and drainage, and establish a simple inspection routine.
The work you put into these final details can help protect all the work that came before it.
Ready to Choose Your Shed Plan?
Once you've worked through the main stages of shed construction, having a detailed plan can make the project easier to organise.