

Size, Layout and Features
Planning a work shed starts with understanding what you want to do inside it. Whether you're building a space for woodworking, DIY repairs, hobbies or general projects, a good layout can make your shed more practical and easier to use.
Before choosing materials or starting construction, consider the size you need, where your workbench will go, how you'll store tools and equipment, and what lighting and ventilation your workspace requires. Taking time to plan these details can help you choose a suitable design and avoid costly changes later.
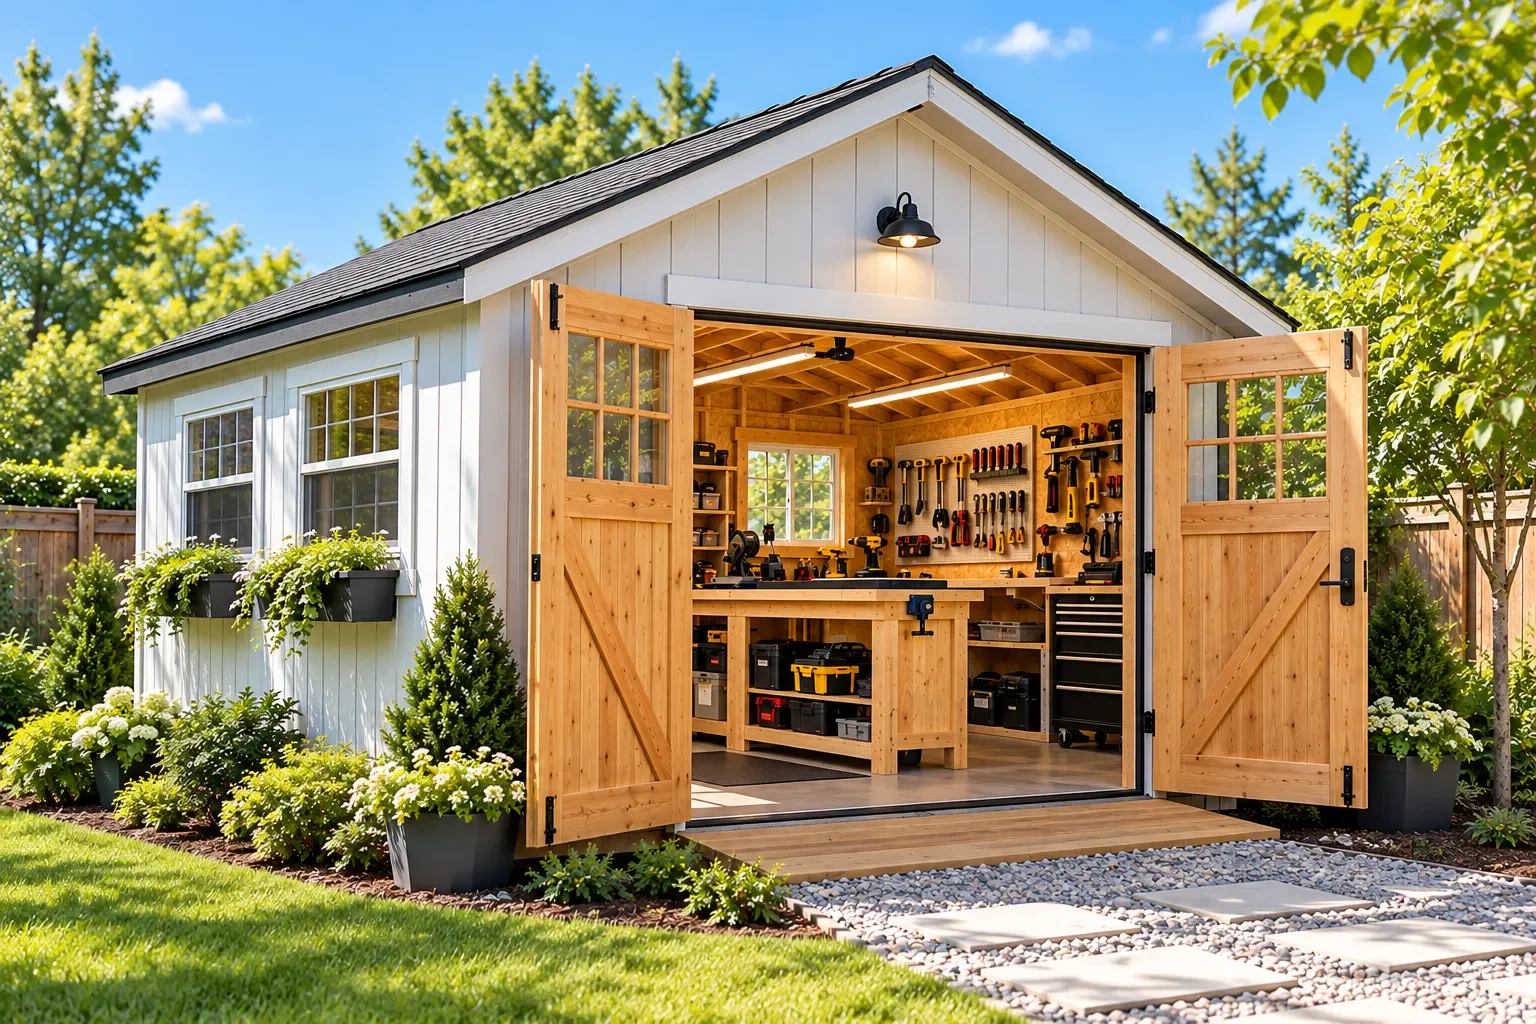
Step 1: Decide How You'll Use Your Work Shed
Start by listing the activities you expect to carry out in your shed. A space for occasional repairs will have different requirements from a woodworking workshop with stationary power tools.
Consider whether you'll need room for:
A workbench and hand tools
Power tools and equipment
Shelving, cupboards and tool storage
Timber, sheet materials or other project supplies
A clear area for assembling larger projects
Think about how often you'll use the shed and whether your needs might change. Planning for future equipment or additional storage can help you choose a layout that remains useful over time.
Step 2: Choose the Right Work Shed Size
The best shed size depends on your projects, equipment and available backyard space. A compact shed may be sufficient for basic repairs and hand tools, while a larger workshop may be needed for woodworking machinery and material storage.
Measure the equipment you intend to use and allow space to move around it. Remember to account for doors, shelving and workbench depth rather than considering floor area alone.
Before settling on a size, check your property boundaries, access requirements and local building regulations. A larger shed may provide more flexibility, but it also requires more materials and preparation.
Step 3: Plan Your Workbench and Tool Storage
A practical workbench is often the centre of a work shed. Position it where you have enough room to work comfortably, handle materials and reach your tools without unnecessary movement.
Keep frequently used tools close to your main work area. Wall-mounted storage, shelves and cupboards can help organise smaller equipment while keeping the floor clear.
If you use long timber or sheet materials, consider how they will enter the shed and move through the workspace. A layout that looks spacious on paper may become difficult to use when equipment and supplies are added.
Step 4: Position Doors and Windows
Door placement affects how easily you can move equipment, materials and completed projects in and out of the shed. Choose an opening wide enough for the items you expect to handle, and make sure the door won't obstruct your main work area.
Windows can provide natural light and make the workspace more pleasant. Their position should work with your bench layout and available wall space for shelving or tool storage.
Consider the direction of prevailing weather, security and how doors and windows affect the usable wall area. Include these details when reviewing your shed design.
Step 5: Consider Lighting and Ventilation
Good lighting helps you see measurements, cuts and fine details more clearly. Windows can provide daylight, but you may also need suitable artificial lighting for cloudy days and evening work.
Ventilation is particularly important when your projects generate dust, fumes or heat. The appropriate approach depends on the tools, materials and finishes you use.
Plan electrical outlets, lighting and any specialist ventilation before construction. Electrical installations should meet applicable local requirements and may require a qualified professional.
Step 6: Choose Suitable Work Shed Plans
Once you understand your space and layout requirements, compare plans that fit your intended use. Look for clear dimensions, framing details, foundation information and a materials list where available.
Review the roof design, door openings and window positions to make sure the plan accommodates your workspace. A design intended mainly for storage may not provide the layout you need for a working bench and equipment.
Explore our Work Shed Plans page to compare designs for backyard workshops, DIY projects and tool storage.
Step 7: Prepare for Construction
Before buying materials, review the complete plan and check the dimensions against your site. Identify the foundation type, access requirements and any site preparation needed.
Our Shed Material Estimator Calculator can help you estimate materials for a planned shed. Treat its results as estimates and verify quantities against your chosen plans, construction method and local requirements.
You can also follow our Shed Building Guide for guidance on preparing for construction and working through the building stages.
Final Thoughts
A well-planned work shed begins with understanding how you'll use the space. Choose a suitable size, organise your workbench and storage, and consider doors, windows, lighting and ventilation before construction begins.
By reviewing these details early and selecting plans that match your needs, you can approach your project with a clearer idea of the materials, layout and work involved.