

How to Build a Wooden Lean To Shed: A Practical DIY Guide
A wooden lean-to shed can be a practical way to add storage when you don't have room for a large freestanding shed. Its compact design can work well alongside a house, garage, fence, or another existing structure.
Building one still requires careful planning. Before cutting lumber or preparing the site, it's worth understanding the main stages of construction, the materials involved, and how the different parts of the shed fit together.
Choose the Right Location
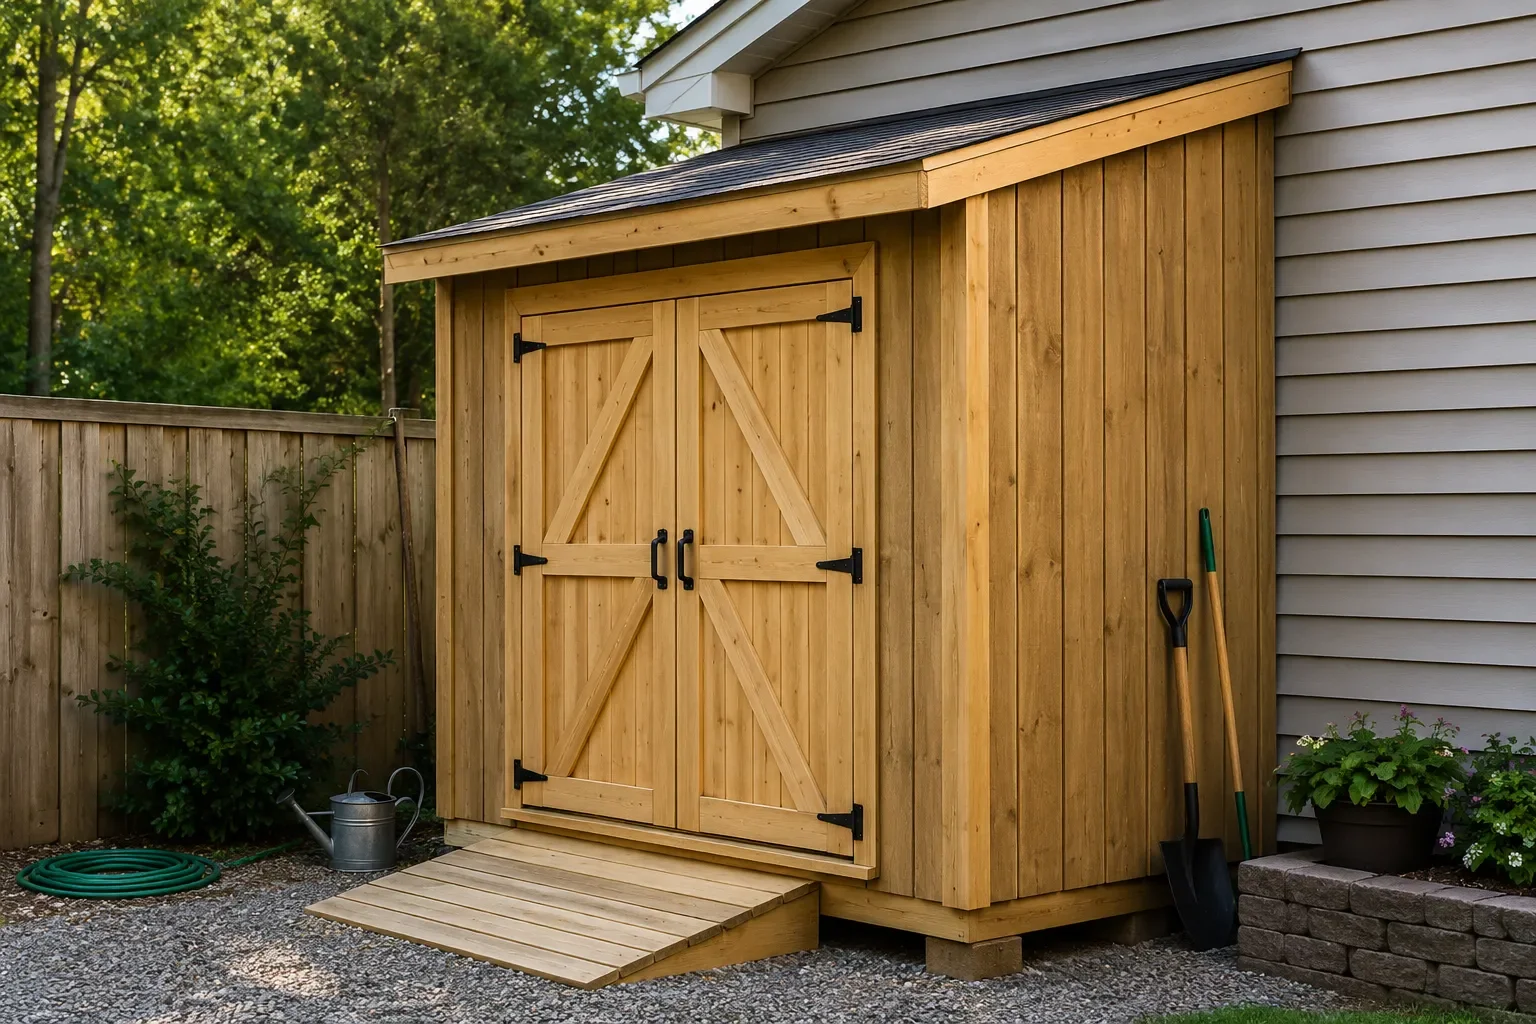
Start by measuring the area where you want to build. A lean-to design is particularly useful in narrower spaces, but you still need enough room to access the doors and work safely around the building.
Consider drainage, ground conditions, access, and how the shed will be used. You should also check local building codes, permits, property setbacks, and any restrictions that may apply to your location before beginning construction.
Prepare the Foundation
The foundation provides the starting point for the entire shed, so it needs to be properly prepared.
The example wooden lean-to shed plan uses a layer of compactible gravel with treated timber skids positioned on top. The skids support the floor frame and help keep the wooden structure above the prepared ground surface.
The gravel should be excavated and thoroughly tamped so the foundation is flat and level. Taking time at this stage can make the later framing stages much easier.
Build the Floor Frame
Once the foundation is prepared, the floor frame can be assembled.
The example plan uses treated 2×6 lumber for the rim joists and floor joists, with exterior-grade plywood used for the floor sheathing. The framing is positioned over three treated timber skids and checked for square before the floor sheathing is installed.
Getting the floor frame square is particularly important because the walls will be built directly from it.
Frame the Walls
After the floor is complete, the wall framing can be laid out.
The supplied plan uses 2×4 framing and provides specific stud, plate, and header dimensions. The walls are assembled individually, raised into position, braced, and then secured together at the corners.
Detailed framing drawings can be helpful here because they show the location of the studs, openings, headers, and other structural components before the walls are assembled.
Build the Roof
The roof gives the lean-to shed its characteristic profile and needs to be framed accurately.
The example plan includes a rafter template, roof framing details, a ridge board, rafter ties, and metal anchors for connecting the rafters to the walls. The drawings show the relationship between the rafters, wall plates, ridge, and roof structure.
Once the roof framing is complete, plywood roof sheathing can be installed, followed by building paper, metal drip edge, and asphalt shingles. Optional roof vents can also be included in the design.
Install the Siding and Trim
With the main framing complete, the exterior of the shed can be enclosed.
The example design uses plywood siding along with cedar trim, fascia, and plywood soffits. The plan also includes details for soffit vents and the way the siding meets the roof and other exterior components.
These finishing details aren't just about appearance. Properly installed siding, flashing, trim, and roofing components help complete the exterior envelope of the building.
Build and Install the Doors
The example wooden lean-to design includes double doors, making it easier to move equipment and larger garden items into the shed.
The supplied instructions cover constructing the door frame, installing stops, assembling the door panels, adding Z-bracing, fitting hinges, hanging the doors, and installing the surrounding trim.
Having the door opening correctly framed from the beginning is important because the opening needs to match the dimensions shown in the plans.
Add Windows and Finishing Details
Windows aren't essential for a storage shed, but they can provide natural light and make the interior more pleasant if you plan to spend time inside.
The example plan includes instructions for building and installing windows, including the window frames, mullion, stops, glazing, and exterior trim.
The plan also includes an optional wooden ramp. This can be useful if you'll regularly move a lawn mower or other heavy equipment in and out of the shed.
Plan Your Interior Storage
Once the structure is finished, think about how you'll use the available space.
A small lean-to shed can be surprisingly useful when the interior is organized properly. Shelving can hold smaller gardening supplies, while wall-mounted storage can keep long-handled tools off the floor.
Keeping larger equipment closer to the doors can also make it easier to move items in and out without having to rearrange the entire shed.
Why Detailed Shed Plans Matter
One of the biggest advantages of working from detailed plans is knowing what you're building before construction begins.
The supplied wooden lean-to shed plan includes materials and cutting lists, floor and framing plans, elevations, roof details, construction drawings, and step-by-step instructions. It covers the major stages from the foundation and floor through the walls, roof, siding, doors, windows, and finishing details.
That information can help you organize materials, understand the construction sequence, and identify the tools and supplies you'll need before you begin.
For more information about the design and available plans, see our
Wooden Lean To Shed Plans page.
Plan Before You Build
A wooden lean-to shed can turn an otherwise difficult-to-use area into practical outdoor storage. The compact design, straightforward construction, and flexible storage options make it worth considering when backyard space is limited.
The most important step is planning before construction starts. Measure the site, check local requirements, decide how you'll use the shed, prepare the foundation carefully, and make sure you understand the construction sequence.
With detailed drawings, a complete materials list, and clear instructions, you can approach the project with a much better understanding of what's involved.