

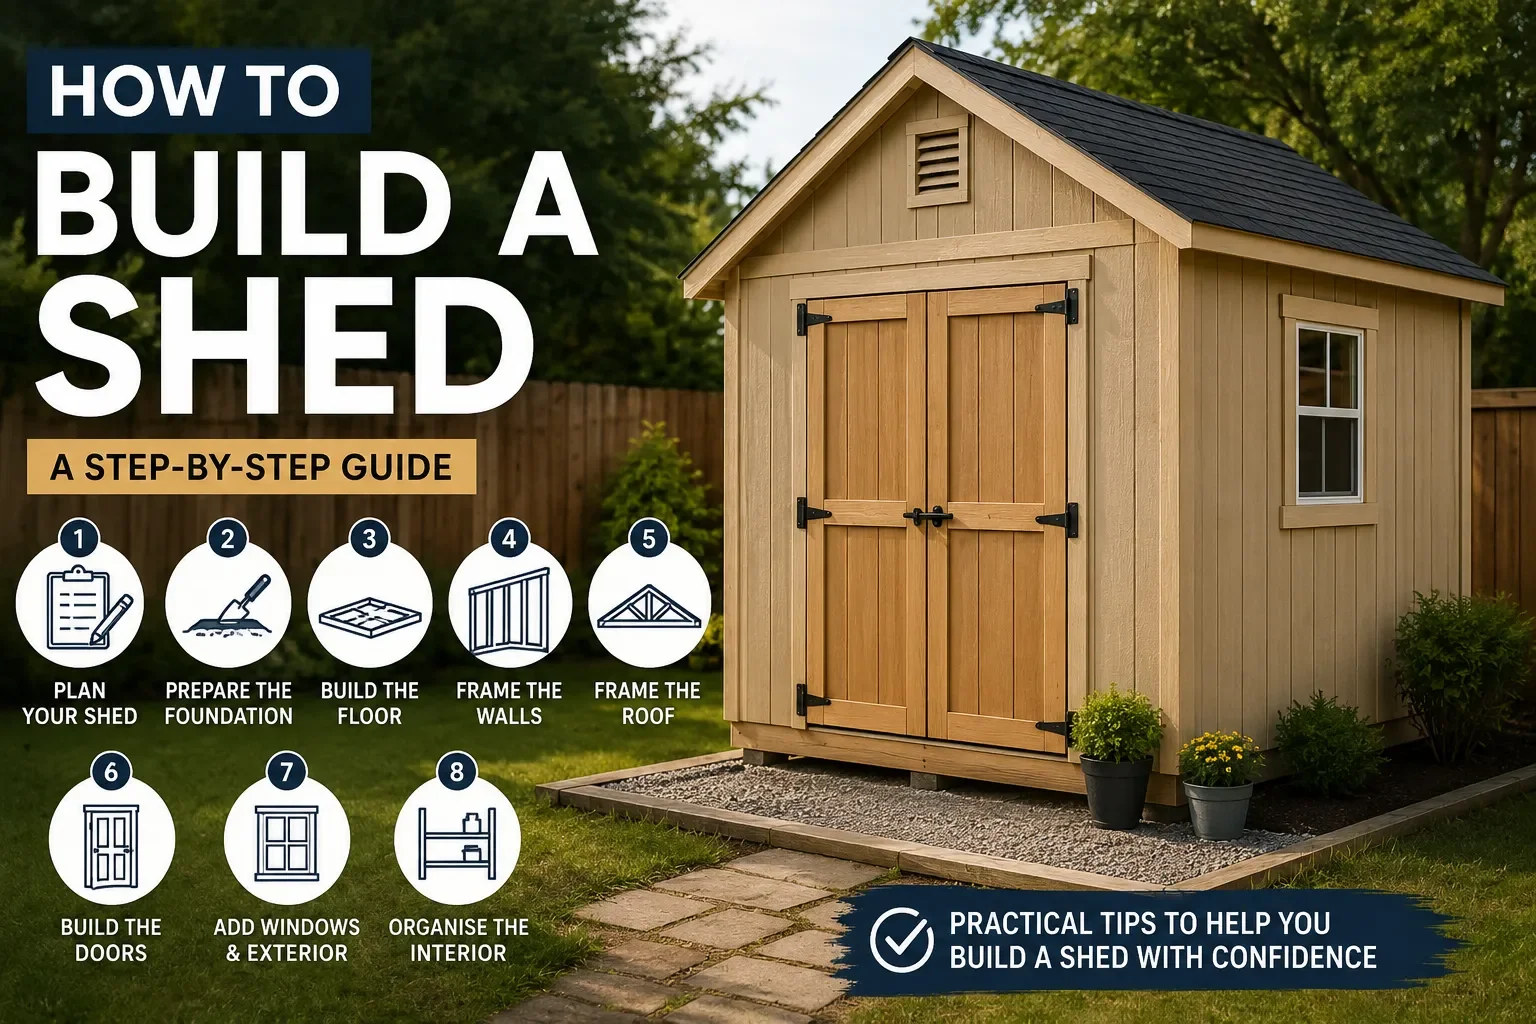
How to Build a Shed. A Step-by-Step Guide
Building a shed can be a rewarding DIY project and a practical way to add storage or workspace to your backyard. The key to a successful shed project is good planning before you start cutting timber or buying materials.
Whether you're building a small garden shed or a larger backyard workshop, the basic process involves planning the design, preparing a suitable foundation, building the floor, framing the walls, constructing the roof, and finishing the doors and exterior.
1. Plan Your Shed
Before you start building, decide what you want the shed to be used for and how much space you need.
Think about what you'll store inside. Garden tools require much less space than a lawn mower, bicycles, outdoor furniture, or a workshop.
Also consider:
The available space in your backyard
The size and layout of the shed
Door location and size
Window placement
Storage shelves and workbenches
Access around the finished shed
Local building or planning requirements
Taking time to plan your shed before construction can help prevent expensive changes later.
If you're looking for a specific size, our 12x12 Shed Plans page is a useful place to start.
2. Prepare the Ground and Foundation
A shed needs a stable and level foundation.
Start by choosing a suitable location and preparing the ground. Remove vegetation and other material from the building area and make sure the site is reasonably level.
The foundation you choose will depend on the size and design of your shed, the ground conditions, drainage, and local requirements.
Common options include concrete slabs, concrete blocks, timber foundations, and other suitable base systems.
Before construction, make sure the foundation provides a stable and level surface for the shed floor.
3. Build the Shed Floor
Once the foundation is ready, you can construct the floor frame.
The floor needs to be strong enough to support the structure and everything you'll eventually store inside it.
The basic process involves constructing the floor frame, checking that it is square and level, and attaching the appropriate flooring material.
Take your time at this stage. A level, square floor gives you a much better starting point for the walls.
4. Build and Frame the Shed Walls
With the floor completed, the wall frames can be constructed.
Each wall frame should be measured carefully and assembled according to the shed design. Openings for doors and windows need to be planned before the wall sheathing is installed.
Once the frames are complete, they can be positioned on the floor and secured.
Check each wall for alignment and make sure the structure remains square as you work.
5. Frame the Shed Roof
The roof is one of the most important parts of the shed because it protects everything inside from the weather.
Depending on your design, the roof might be a traditional gable roof, a single-slope roof, or another style.
Roof framing needs to be carefully measured so the rafters or roof structure are positioned correctly. Once the framing is complete, the roof sheathing and chosen roofing material can be installed.
If you're unsure about roof construction, detailed shed plans can make this stage much easier because they provide the measurements and diagrams needed for the particular design.
6. Build and Install the Shed Doors
The doors should be planned around how you intend to use the shed.
A small door may be suitable for garden tools, while larger equipment such as lawn mowers and bicycles may require a wider opening.
Build the door frame and door to the dimensions specified by your plans, then install the hinges and hardware and check that the door opens and closes properly.
Good door placement can also make a big difference to how easy the finished shed is to use.
7. Add Windows, Siding, and Exterior Finishes
With the main structure complete, you can move on to the exterior.
Depending on your design, this may include:
Wall siding or cladding
Windows
Trim
Fascia and soffits
Roofing
Exterior paint or stain
Door hardware
These finishing details not only affect the appearance of the shed but can also help protect the building from the elements.
8. Organize the Interior
Before filling the shed with equipment, think about how the space will be organized.
Shelving can make use of wall space without taking up valuable floor area. Hooks can keep smaller tools accessible, while a workbench can turn part of the shed into a useful DIY workspace.
Plan the interior around the items you'll actually use rather than simply filling every available space.
How Long Does It Take to Build a Shed
The time required depends on the shed's size, design, foundation, materials, your experience, and how much preparation is required.
A simple shed may be completed relatively quickly, while a larger or more detailed building can take considerably longer.
Weather, material availability, and whether you're working alone or with help can also affect the timeline.
It's better to allow enough time to complete each stage properly rather than rushing the construction.
What Do You Need to Build a Shed
The exact materials and tools depend on the design, but a typical timber shed project may require framing timber, flooring, wall sheathing or siding, roofing materials, fasteners, doors, windows, and appropriate hardware.
You'll also need tools suitable for measuring, cutting, fastening, and checking that the structure remains square and level.
A detailed materials list can make preparation much easier because you can organize what you need before construction begins.
Use Detailed Shed Plans Before You Start
Building a shed is much easier when you don't have to work out every measurement and construction detail yourself.
Detailed shed plans can provide the drawings, measurements, materials lists, and step-by-step instructions needed for the particular design you're building.
If you're ready to choose a project, explore our Build Your Own Shed Plans for more information about finding a plan that suits your project.
Build With a Plan
The most important part of learning how to build a shed is understanding that the project starts long before construction.
Choose the right size, prepare the site properly, use a suitable foundation, and work through the construction stages carefully. Having detailed plans to follow can help you stay organized and understand what needs to happen at each stage.
Whether your goal is simple garden storage or a dedicated backyard workshop, careful planning gives you a much better chance of ending up with a shed that works for your needs.